
Week 2
Last week, we used HTML and CSS to build a personal page. HTML gave us the content, and CSS let us change how it looked. If we wanted to change the text on the page, we had to edit the HTML file and refresh the browser.
JavaScript is a programming language that lets us change a page while someone is using it. For example, we can respond to a button click by showing a message. We will add that to the same page we made last week.
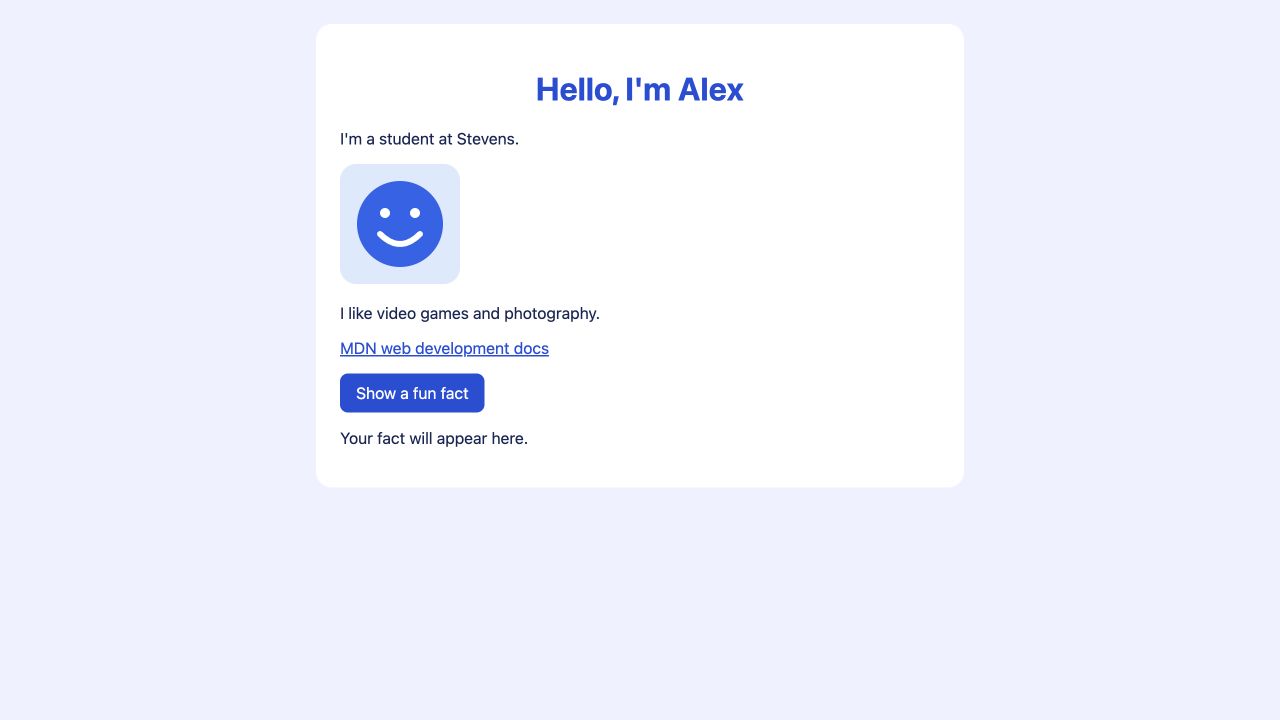
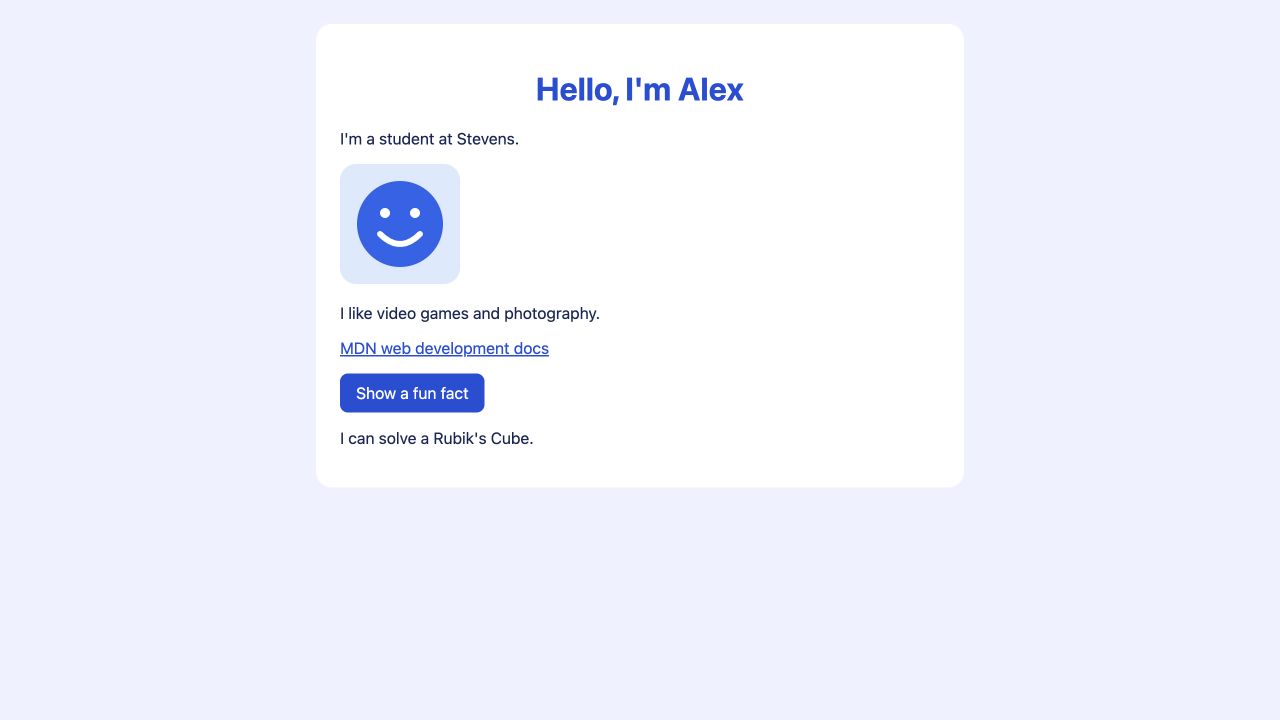
Here is what our page will look like before and after clicking the button:


Getting started
Open last week's folder in your editor and open index.html in your browser. Keep the editor and browser next to each other so you can see what happens as you work. If you missed last week or cannot find your files, ask for a copy of the Week 1 example.
Adding the button
First, we need a button to click and a paragraph where we can show the fact. Add these inside <main>, just before </main>:
<p><button id="fact-button" type="button">Show a fun fact</button></p>
<p id="fact" aria-live="polite">Your fact will appear here.</p>
The first line adds a button inside a paragraph, which keeps it on its own line. type="button" makes it a regular button. Because we used the HTML <button> element, the browser already lets someone reach it with the keyboard and activate it with Enter or Space.
The id attributes give these elements unique names on the page. Our button's ID is fact-button, and our message's ID is fact. JavaScript will use those IDs to find the right elements, so make sure each spelling matches the example.
A screen reader reads page content aloud. aria-live="polite" tells it to announce changes to the paragraph when it has finished what it is already reading. This is helpful because someone using a screen reader might otherwise miss the new message.
Save the file and refresh the page. You should see both elements, but clicking the button will not change anything yet. We still need to write the JavaScript that handles the click.
Adding JavaScript to the page
Create a file called script.js in the same folder as index.html and styles.css. The .js ending tells us this is a JavaScript file.
In index.html, add the following line just before </body>:
<script src="script.js"></script>This tells the browser where to find our JavaScript. We put it at the end of the body so the browser reads the button and paragraph before running code that tries to find them. Save both files.
Finding elements
To change one paragraph, JavaScript needs a way to find it on the page. The browser organizes the HTML elements into the Document Object Model, usually shortened to DOM. We can use the DOM to find our paragraph and change its text.
A program works with values, such as text, numbers, or elements from a page. A variable gives a value a name so we can use it later in our code. In this example, we want names for our button and paragraph.
Add these lines to script.js:
const factButton = document.querySelector("#fact-button");
const fact = document.querySelector("#fact");
document refers to the current page. querySelector finds the first element that matches a selector. The selector tells it which element to look for. Here, # means an ID, so "#fact-button" finds the element with id="fact-button".
const creates a variable and prevents us from giving it a different value later. The = gives the name on the left the value on the right. Here, factButton refers to the button that querySelector found. The semicolon ends the instruction.
The second line does the same thing for our paragraph, using the name fact. We can now use factButton and fact throughout the file without looking up the elements again.
Compare each selector with its HTML ID. Notice that the # appears in the JavaScript selector, but not in the HTML ID itself. Also, factButton is a name we chose for our variable. It does not have to be spelled the same way as the ID.
Functions
Now that we have the paragraph, we need to describe what should happen to it. A function groups instructions under a name. Calling the function means telling it to run those instructions.
We will make a function called showFact. Add this below the two variables:
function showFact() {
  fact.textContent = "I can solve a Rubik's Cube.";
}
function tells JavaScript we are defining a function, and showFact is its name. The instructions go inside the braces, { and }. The parentheses are empty because this function does not need us to give it any inputs.
Inside the function, fact.textContent refers to the text in our paragraph. The = replaces that text with the value on the right. Text inside quotation marks is called a string. Here, our string is "I can solve a Rubik's Cube.". The browser displays the sentence without the surrounding quotation marks.
Earlier, we used const for fact. We can still change the paragraph's text because fact continues to refer to the same element. We are changing that element's content, rather than giving the variable a different element.
At this point, we have described what showFact does, but we have not called it. If you refresh the page, the starting message will still be there.
Events
An event is something that happens on a page, such as someone clicking a button. An event listener lets us run a function when a particular event happens.
We want showFact to run when someone clicks our button. Add this line below the function's closing brace:
factButton.addEventListener("click", showFact);In this example, we add the listener to factButton. "click" is the event we want to respond to, and showFact is the function we want to run.
Notice that we wrote showFact without parentheses here. That gives the listener a function it can call later. Writing showFact() would call the function immediately while the page loads, instead of giving the listener the function to use when someone clicks.

Save both files and refresh the page. Click the button. You should now see the fact appear. Here is the complete script.js so you can compare it with your file:
const factButton = document.querySelector("#fact-button");
const fact = document.querySelector("#fact");

function showFact() {
  fact.textContent = "I can solve a Rubik's Cube.";
}

factButton.addEventListener("click", showFact);
Try clicking the button again, then refresh the page. Each click sets the same message. Refreshing brings back the starting text because our JavaScript changes the page in the browser, not the saved HTML file.
Changing the message
Replace the fact with something about yourself. Change the words inside the double quotation marks in showFact, and keep the surrounding punctuation in place. You can also change the button's visible text in index.html. Keep the button's ID the same so the selector still finds it.
Save, refresh, and try the button. Then show the person next to you which line changes the message and which line connects it to the click.
The screenshots also use button styles. If you want the same appearance, copy the two rules beginning with button to the end of your styles.css. They change how the button looks, and our JavaScript works with or without them.
Debugging
Debugging means finding and fixing a problem in our code. Let's make a small mistake so we can see what the browser tells us about it.
In the first line of script.js, remove one t from fact-button:
const factButton = document.querySelector("#fact-buton");Save, refresh, and try clicking. The button is still there, but it no longer changes the message.
Right-click the page, choose Inspect, and open the Console tab. The console shows errors from JavaScript. Look for the error connected to script.js. Its wording may vary by browser, but you may see null and addEventListener.
querySelector returns null when it cannot find a matching element. Our HTML still has id="fact-button", but our JavaScript now looks for fact-buton. As a result, factButton contains null, and the next part of our code cannot attach a listener to it.
The error points to the line where JavaScript tried to add the listener. The actual mistake is earlier, in the selector. Fix the missing t, save, and refresh. The button should work again.
If your code stops working, start with what you expected to happen and what happened instead. The console often gives you a place to look. Change one thing at a time so you can tell which change fixed the problem.
Before next week
Next week, we will use Git and GitHub to save changes and review each other's work. Before that meeting, follow the GitHub setup checklist to prepare your account. FIX THE URL AND REWRITE SETUP
Resources
- What is JavaScript? — W3Schools: What is JavaScript? · MDN alternate
querySelector()— W3Schools: document.querySelector() · MDN alternateconst— W3Schools: JavaScript const · MDN alternate- Functions — W3Schools: JavaScript Functions · MDN alternate
textContent— W3Schools: HTML DOM textContent · MDN alternateaddEventListener()— W3Schools: addEventListener() · MDN alternatearia-live/ ARIA accessibility — W3Schools: Accessibility and ARIA · MDN alternate: aria-live